Mini Mad Scientists!
Every child should get the opportunity to explore science. It helps them to make sense of the world and make connections between different concepts. Science is a great way to get some hands-on learning, and it’s easy to apply in your own homes. Read on for 3 ways to teach science in your home kitchen with fun experiments your kiddos will love! We’ve also included thinking questions for further application and exploration.
The Raisin Dance Party
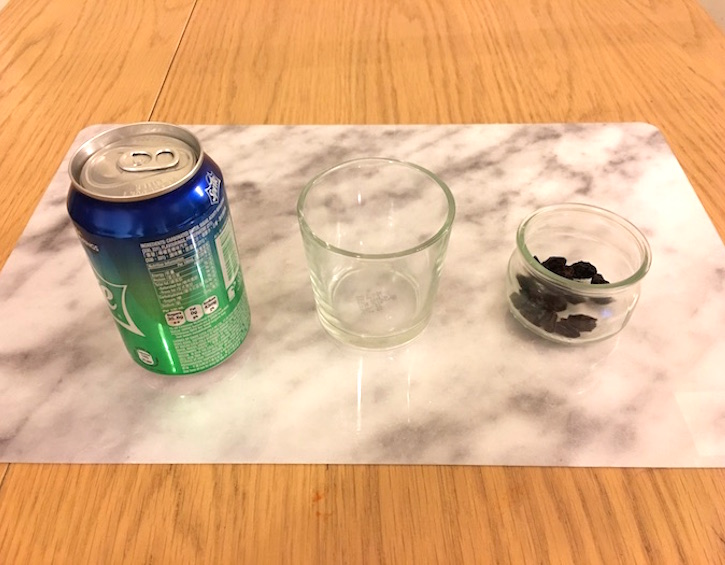
For this experiment, you need only a few minimal supplies: raisins, clear soda and a glass. Sounds easy, right? Ask your child to pour some soda into the glass and watch the bubbles fizzing. Next, add the raisins and observe.
The carbon dioxide bubbles will stick to the surface of the raisins giving them some buoyancy. Use this as an opportunity to think of other things filled with air (or another gas) that can be used to help things float, like water wings or bath toys. After using the raisins, you can also try other ingredients like pasta or gummy bears.
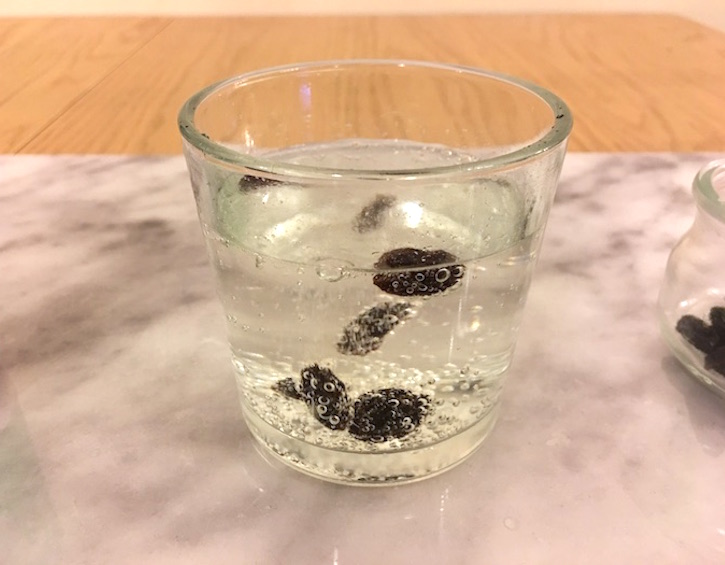
Thinking Question: Will all things float in soda? Why or why not?
Moon Craters
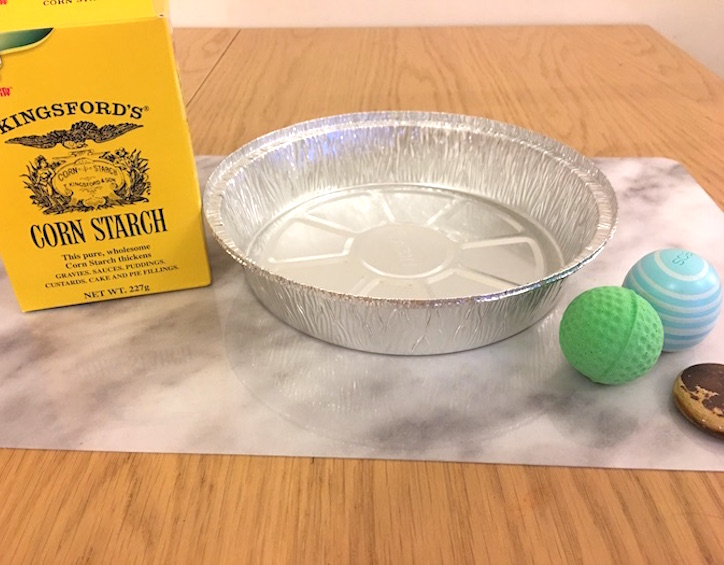
Another experiment that requires the simplest of materials! You will need: flour, a tray and some different sized balls or pebbles. Fill the tray with flour; make sure it is filled at least to ½ an inch. To make the craters more visible, you can add some cocoa powder and mix it in with the flour. Next place the tray on a table or the floor and drop your balls or pebbles into the tray. When the balls hit the flour they will imitate the effect of a crater being formed. Now get out a ruler and measure the craters! Which pebble/ball created which sized crater? Record the results, or let your child take photos. Photos are a great recording method and can be stuck in a notebook for added notes and thoughts.
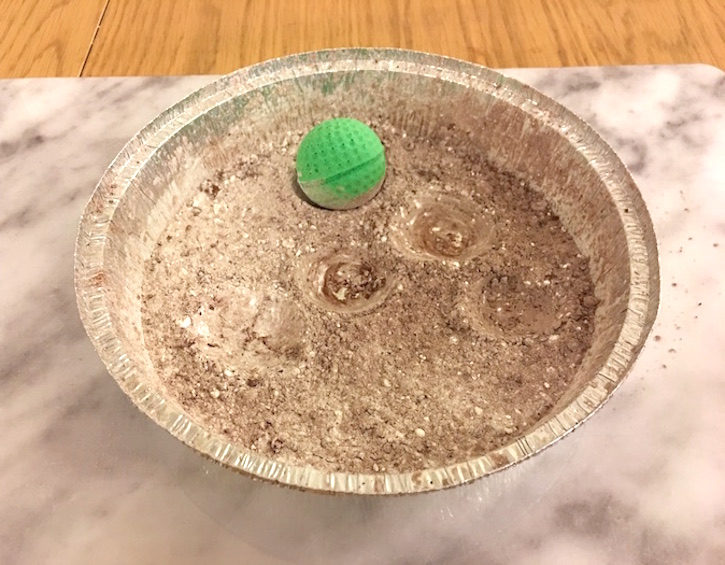
Thinking Question: Is it only spherical objects that create craters? How can you find out?
Lava in a Jar
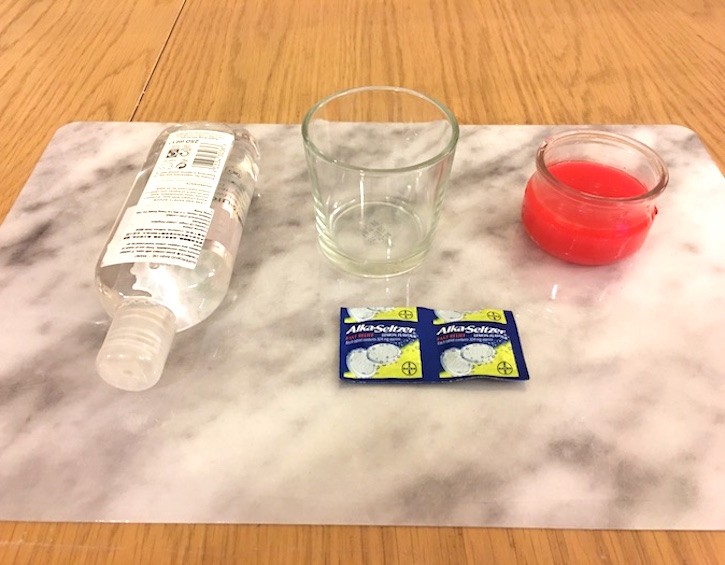
This activity requires a bit more preparation in the materials department. As well as a glass/jar you will also need food colouring, oil (clear baby oil is best), and Alka-Seltzer. Start by adding the oil to the jar, you’ll want to fill it about ¾ full. Next, mix the food colouring with some water and add this to the oil.
Take a moment to observe what is happening. Your child should now be observing the separation between the oil and coloured water. Now for the fun part! Add the Alka-Seltzer and watch what happens! The carbon dioxide from the Alka-Seltzer will attach to blobs of coloured water causing them to rise to the surface (a la lava lamps!), when they reach the top the water falls back down and the whole cycle repeats.
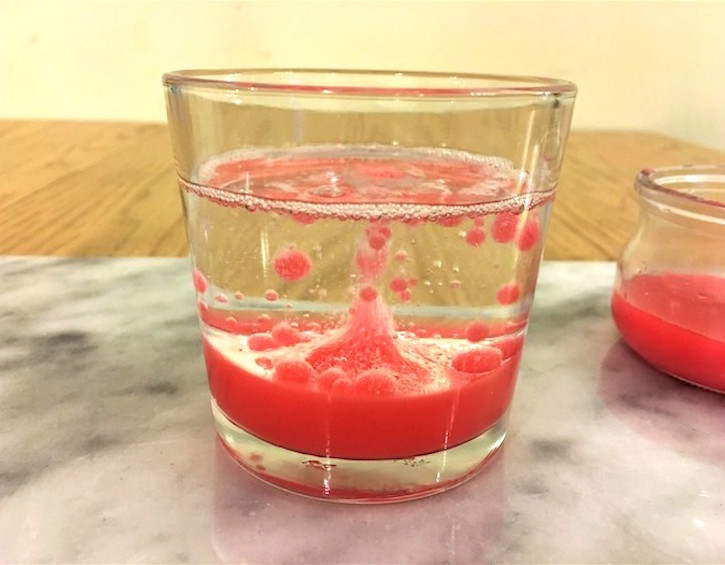
Thinking Question: Is it possible to force oil and water to mix together?
So that’s 3 ways to teach science right at home in your kitchen! They are simple and easy to explain. Don’t worry if your explanations are a bit rocky, science activities are always best left open-ended. Any tricky questions that arise can be a great excuse to visit the library!





 View All


 View All



 View All


