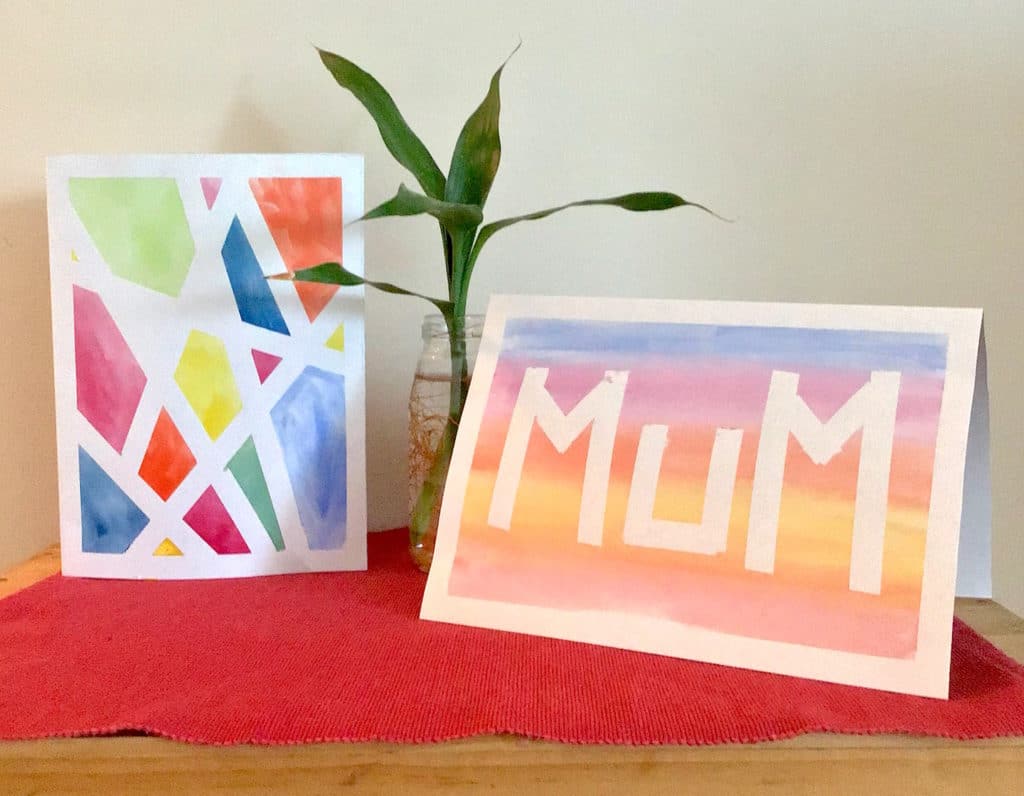
Wondering how the kids can make a Mother’s Day card without help from school? Three preschools share fun and easy DIY card ideas
If the kids are craving a crafty outlet in preparation for Mother’s Day, have Dad show them these fun Mother’s Day card DIYs that’ll also keep them occupied for an afternoon – win-win!
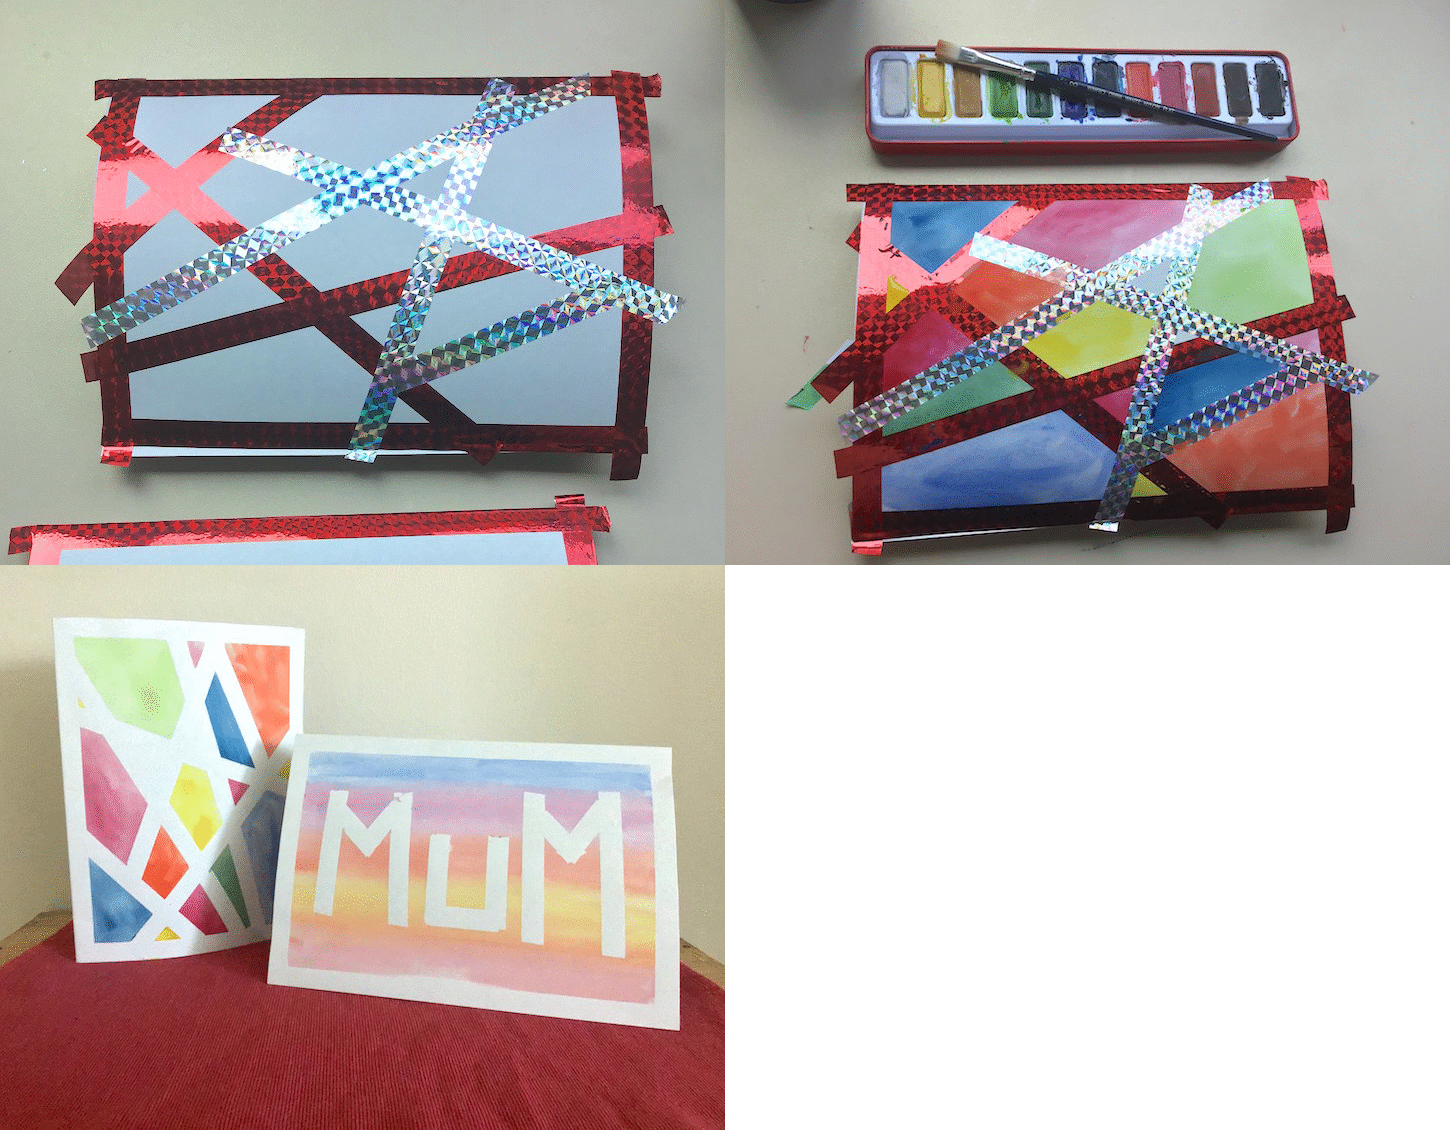
Washi Tape Mother’s Day Card by Blue House Nursery
Suitable for any age (what kid doesn’t like tape!), this card how-to is really easy and the results are fantastic!
What you’ll need
– Washi tape
– Scissors
– Card
– Paints
Step-by-step
1. Fold some paper or cardboard in half to form a card.
2. Use the washi tape to create a border around the outside of the card (optional) and decorate the card. For older children, use the tape to create a picture or word and younger children can just go for it, sticking the tape anyway they like. If your children are younger and not yet able to use scissors you can pre-cut the tape for them.
2. Paint the card, randomly or in sections to create a ‘stained glass’ effect.
3. Wait for the paint to dry completely then very carefully peel off the washi tape.
Blue House International Preschool, 2 Turf Club Road, Bukit Timah Singapore 287988, [email protected], www.bluehouseinternational.com
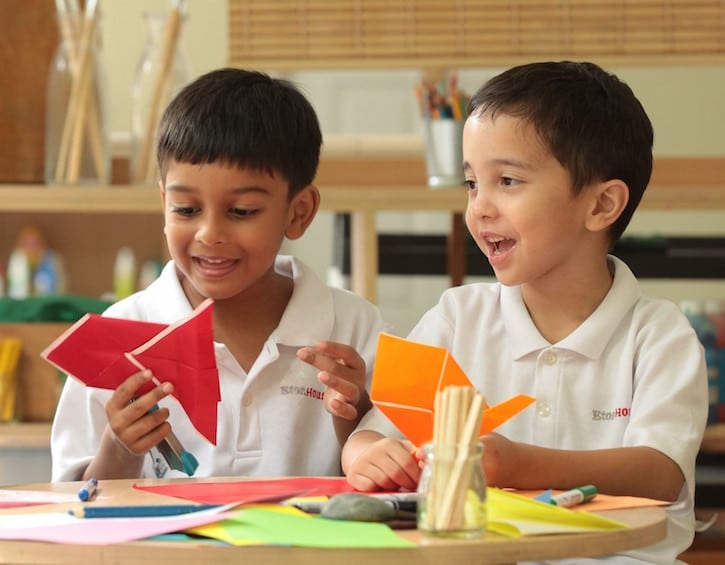
“I Am Grateful” Mother’s Day Card & More Fun Ideas by EtonHouse International School
Etonhouse gives us some fun ideas for a Mother’s Day card, plus other crafts like pebble painting, a 3D mini house structure and shaving foam art!
“I Am Grateful” Mother’s Day Card
What you’ll need
– Smartphone
– Card
– Decorations for the card
Step-by-step
Have your child interview each family member, asking them 2-4 questions: why they love Mom; why they are grateful for Mom, etc; and record videos on your phone! Write down the answers in a card. Play the video on the TV to surprise Mom, and present her with the card!
More ideas:
Painted pebbles – Gather some pebbles (or rocks), paintbrushes, paints and you’re all set! Both Dad and child can paint Mom and your family members, or Mom’s favourite things on the rocks. Use them as decorative ornaments around the house on Mother’s Day – place them where Mom will discover them! Add on little messages of appreciation under the pebbles!
3D House – Create simple and fuss-free 3D house because “Home is where Mom is”! Get crafty with this upcycling project. You’ll need used cardboard boxes, coloured paper, markers, Craft glue, decorate materials like felt cloth of different colours, Multicoloured pompom balls, Glitter glue, Ribbons. After the structure is created, simply decorate away by sticking on pieces of felt cloth, pom poms around the top and sides! Add glitter glue for that extra sparkle. Don’t forget a note of appreciation to go along with your finished piece!
Shaving foam art – Dad and child can make your own paper. Steps and photos here!
EtonHouse International School, Tel :(+65) 6746 3333, [email protected], www.etonhouse.edu.sg
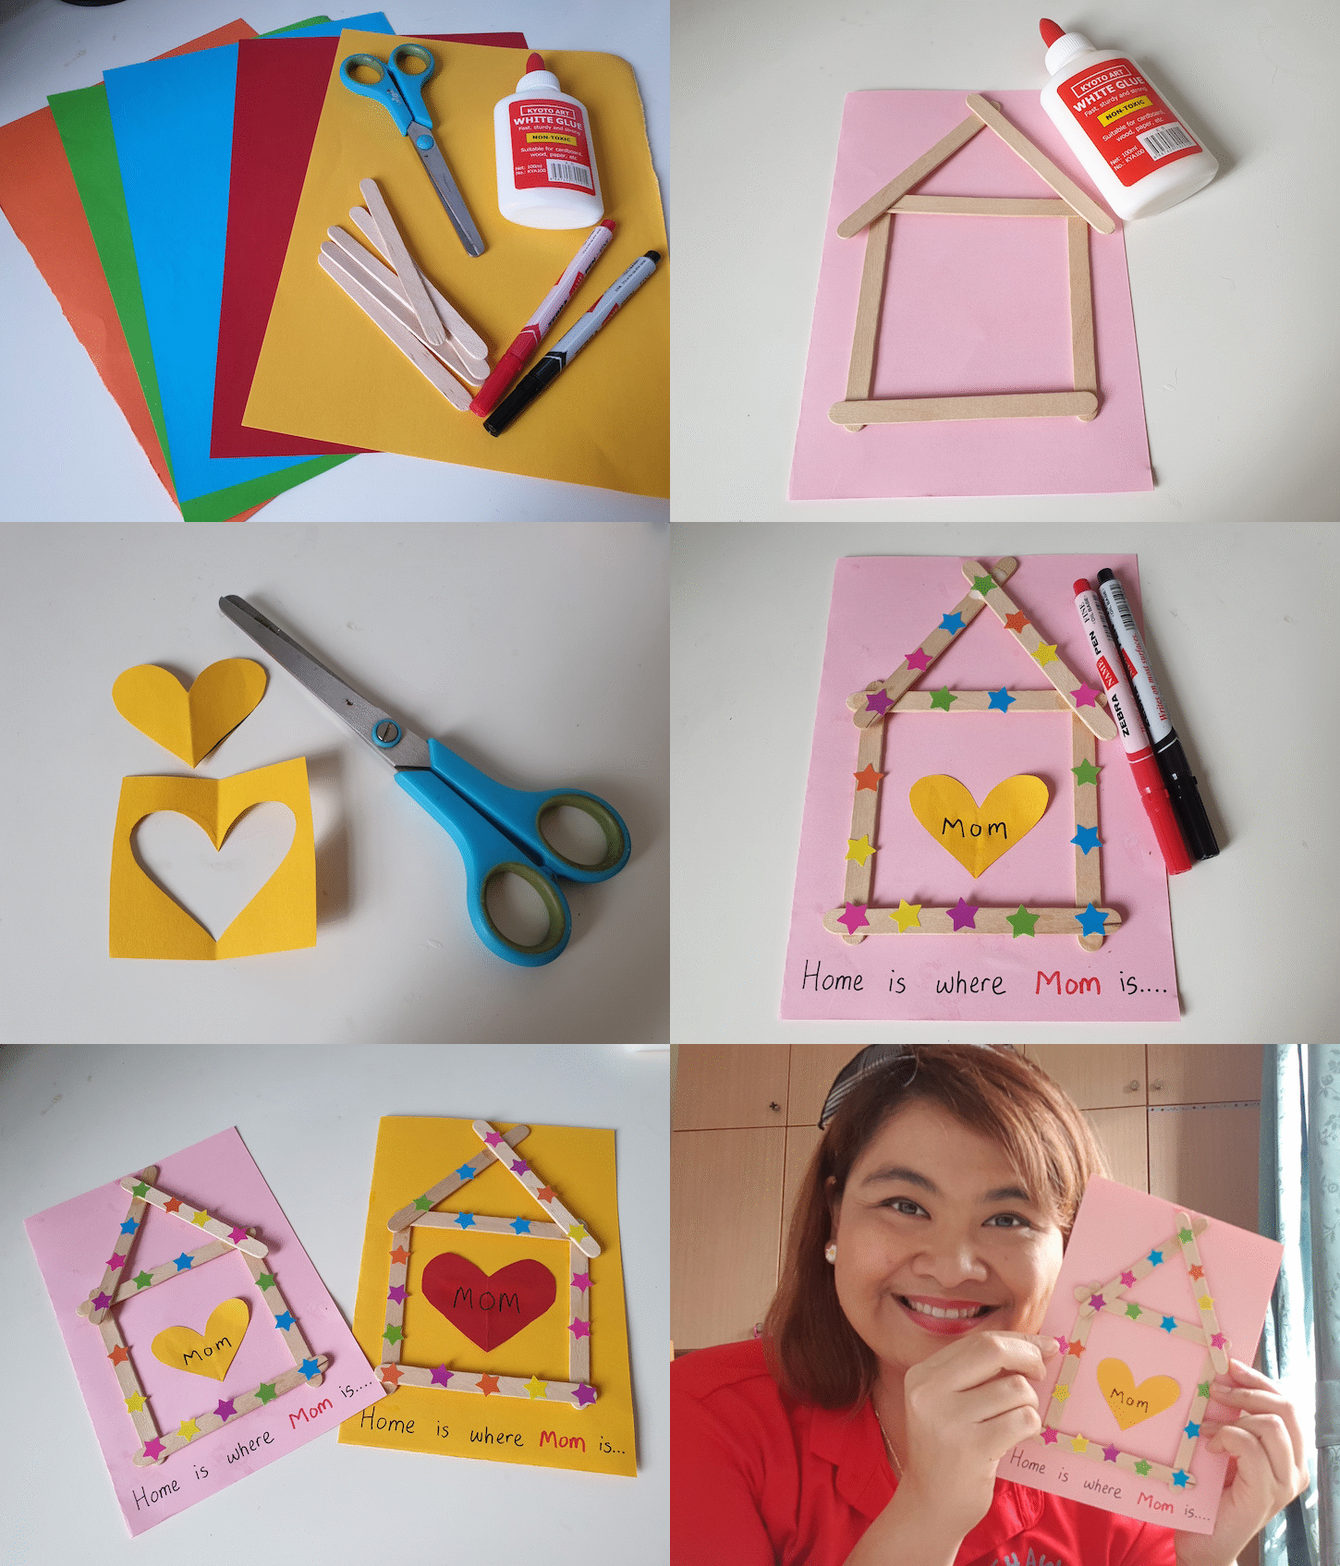
Popsicle Stick & Stickers Card by Shaws Preschool
Great for younger kids, this card design will allow kiddos to express their creativity with stickers and coloured paper.
What you’ll need
– Coloured paper
– Popsicle sticks
– Glue
– Scissors
– Markers
– Stickers
Step-by-step
1. Place your paper in a landscape and fold in into half.
2. Grab the ice-cream sticks to form a square. Apply glue at the four corners of the square. Paste these sticks onto the paper. Add in the roof by pasting two more ice-cream sticks on the square.
3. Decorate the house by pasting stickers on the ice-cream sticks.
4. Take another piece of paper and draw a heart. Cut it out. Write the word ‘MOM’ on the heart. Paste the heart inside the square.
5. Using a marker, write in “Home is where MOM is…” Personalised the card by writing your message in the card.
6. Give the card to your mom… seal it with a hug and a kiss!
Shaws Preschool, multiple locations, www.shaws.com.sg
Tried these DIYs? Make sure you share your card designs with us on Instagram, mama!


 View All


 View All




 View All


